From Drab to Fab: Can Simple Window Decor Changes Revamp Your Space?
Window shades are an often overlooked element in interior design, but they can transform a space from drab to fab. With their versatility and functionality, roller shades for windows offer numerous benefits beyond light control and privacy. We will explore how simple window shades can revamp your space in five remarkable ways, elevating your home’s aesthetics and functionality.
1. Enhancing Natural Light
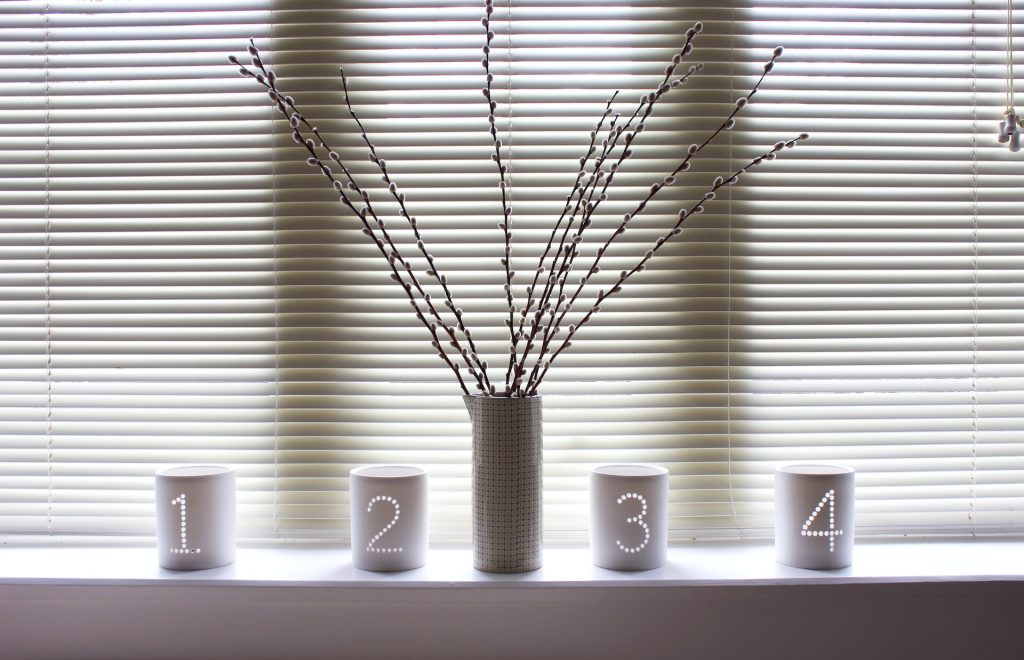
One of the critical ways window shades can revamp your space is by enhancing the natural light in the room. Depending on the roller shades for windows you choose, you can control the amount of sunlight entering your space while still allowing a soft, diffused glow to fill the room. For example, sheer shades or light-filtering roller shades offer a balance between privacy and natural light, creating a warm and inviting atmosphere.
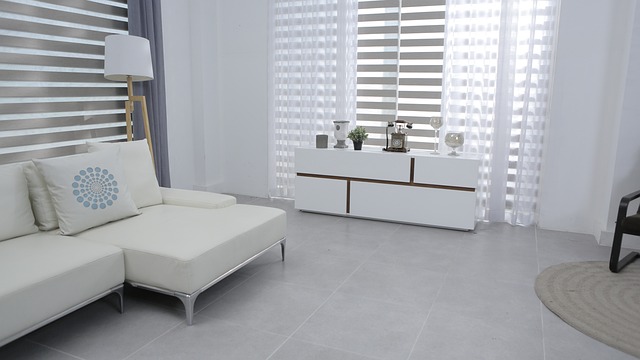
2. Transforming Mood and Ambiance
Window shades can transform the mood and ambiance of a space. You can create a specific atmosphere that suits your desired style by selecting shades in different colours and textures. For instance, lighter-coloured shades can make a room feel airy and spacious, while darker shades can add a touch of drama and intimacy. The right choice of window shades can significantly enhance your space’s overall vibe and character.
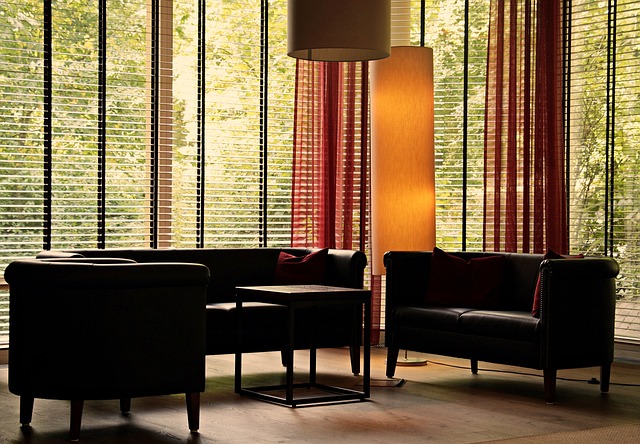
3. Adding Visual Interest
Window shades are functional and can be visually exciting design elements. Choose shades with unique patterns, textures, or materials to create a focal point or add visual interest to your windows. From woven bamboo shades to textured fabric shades, these options can enhance the overall aesthetics of your space and serve as a stylish statement piece within the room.
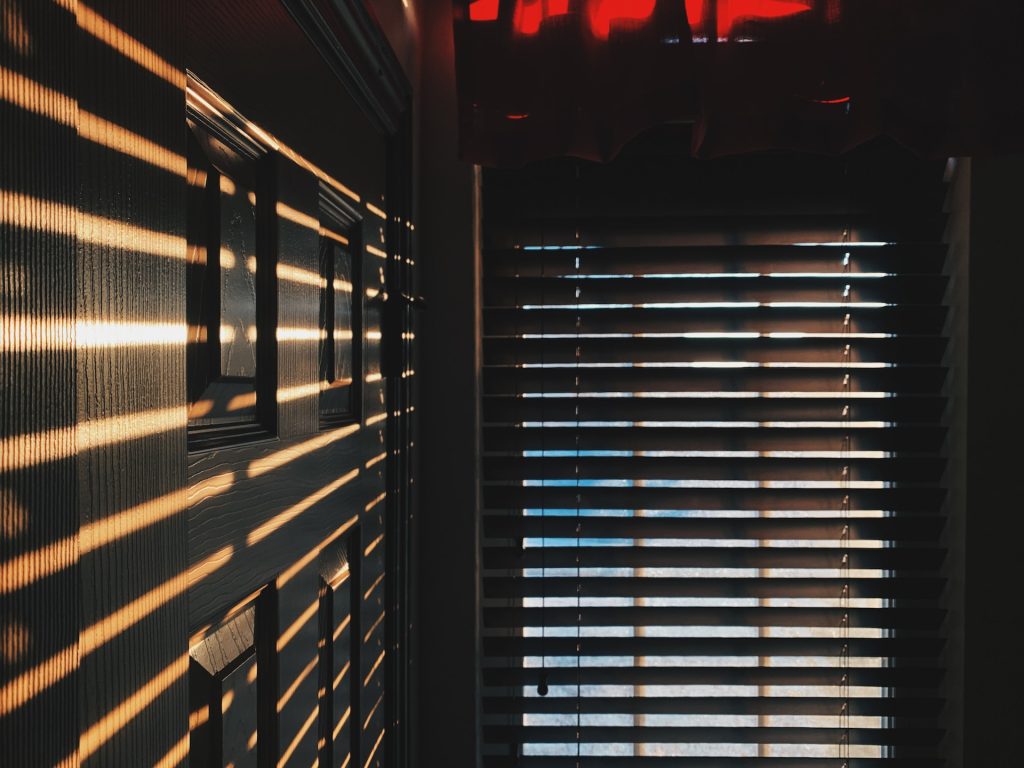
4. Offering Privacy and Comfort
Privacy is essential in any living space, and window shades provide an effective solution. By installing shades, you can control the amount of privacy you desire without compromising natural light. Shades offer a layer of comfort and security, allowing you to create a cozy and intimate atmosphere within your home.
With various opacity options available, such as blackout shades for bedrooms or light-filtering shades for living areas, you can tailor the level of privacy and comfort to suit your specific needs.
5. Improving Energy Efficiency
Window shades also play a crucial role in improving energy efficiency. They act as an extra layer of insulation, reducing heat gain during summer months and heat loss during winter months.
By selecting shades with insulating properties, such as cellular shades, you can create a more energy-efficient space, lowering your utility bills and reducing your environmental footprint. This revamp enhances your space’s functionality and contributes to a greener and more sustainable lifestyle.
Remember to consider the impact of window shades on revamping your space. By selecting the right shades that align with your style and needs, you can transform a drab space into a fab one, creating a welcoming and visually captivating environment for you and your loved ones to enjoy. Call us today!